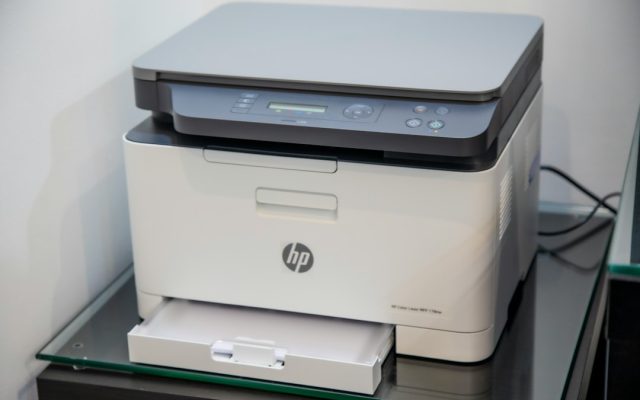
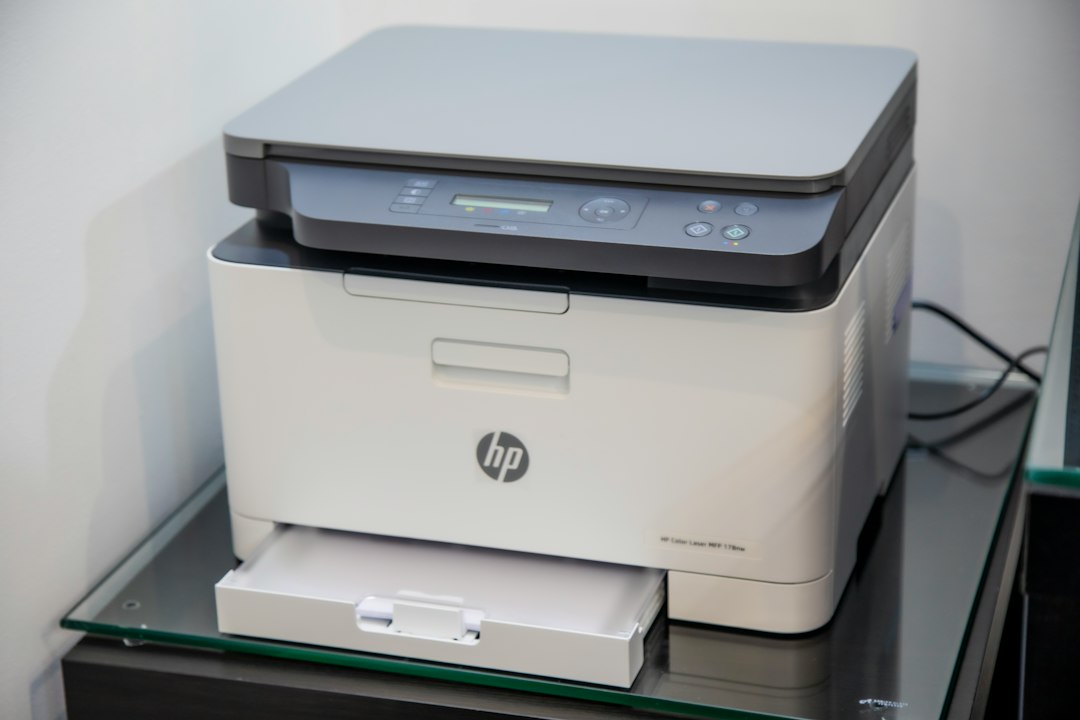
Setting up a printer on a new Windows computer is usually straightforward, but the process can become confusing when several models, connection types and driver packages are available. Microsoft has been moving Windows printing toward a more standardized architecture, while older printers may still depend on manufacturer-specific software. The safest approach is to identify the exact device first, check its supported operating systems and install only the components needed for the features you use.
Start with the exact model number
Do not rely on a product family name printed on the front of the machine. Look for the complete model and regional suffix on the rear label, control panel or original documentation. Two printers that look almost identical may use different drivers or support different features. Record the model number, Windows edition and version, and whether the computer uses an ARM-based or x64 processor. This information helps you avoid downloading a package that cannot run on your system.
Next, visit the manufacturer’s official support page. Check the operating-system list, release date and notes for the driver. Avoid third-party download sites that bundle installers with unrelated utilities. If Windows offers a compatible driver through its update service, compare the listed functions with the manufacturer’s package before choosing one.
Understand the changing Windows driver model
Windows printing has historically supported several generations of printer drivers, including older v3 and v4 models. Microsoft is gradually emphasizing a more standardized printing platform intended to reduce the need for a separate traditional driver for every device. This is a transition rather than a reason to assume that every existing printer will stop working at once. Existing models and specialized features may continue to rely on vendor software, and support can vary by device.
For a home or small-office user, the practical lesson is simple: do not uninstall a working driver merely because you have read about a platform change. When buying a new printer, check whether the manufacturer lists support for your current Windows version and whether scanning, duplexing, status monitoring and finishing options are available through the standard driver or require an additional package.
Choose USB, Ethernet or Wi-Fi deliberately
USB is often the easiest choice for one computer located near the printer. It avoids wireless configuration and usually makes initial discovery predictable. Ethernet is a strong option for a shared office because the printer can connect directly to the router or network switch. Wi-Fi is convenient when cabling is difficult, but signal quality, network segmentation and router settings can affect discovery.
For a network printer, connect it to the intended office network before adding it to Windows. If the printer has a display, use its network menu to confirm that it received an IP address. Avoid connecting a shared printer to a guest network, which may isolate devices from one another. If your router broadcasts separate 2.4 GHz and 5 GHz networks, follow the printer manual because some models support only one band.
Add the printer and verify its features
Open Windows Settings and go to Bluetooth & devices, then Printers & scanners. Choose the option to add a device and allow Windows to search. If the printer is not discovered, confirm power, network connection and IP address before trying manual addition. For a USB model, connect the cable only when the installer or Windows setup requests it, unless the manufacturer’s instructions say otherwise.
After installation, open the printer’s properties and check the paper sizes, color mode, duplex option and tray configuration. Print a test page, then try a short document from the application you use most. If scanning is important, test the scanner separately; installing a print driver does not always install the full scanning software.
Keep the setup reliable
Give the printer a clear name that identifies its location, especially when several devices appear in the list. On a shared network, consider reserving its IP address in the router so computers do not lose track of it after a restart. Keep the installer and model information in a secure support folder for future reference.
If a setup fails, change one thing at a time. Remove duplicate printer entries only after confirming which queue is active. Restart the print service only when ordinary checks do not work, and avoid deleting system folders or installing unofficial driver packages. Exact menu names differ by Windows version and printer model, so consult the manufacturer’s documentation for model-specific steps.
Quick setup checklist
- Confirm the complete model number and Windows architecture.
- Download software only from the manufacturer or Windows Update.
- Choose USB, Ethernet or Wi-Fi based on how the printer will be shared.
- Check paper, color, duplex and scanner features after installation.
- Print a test page and save the working configuration details.
A careful first setup prevents many later problems. Compatibility checks, a suitable connection and a short verification test are more useful than installing every utility offered with the printer.
Reading time: 5–6 minutes.