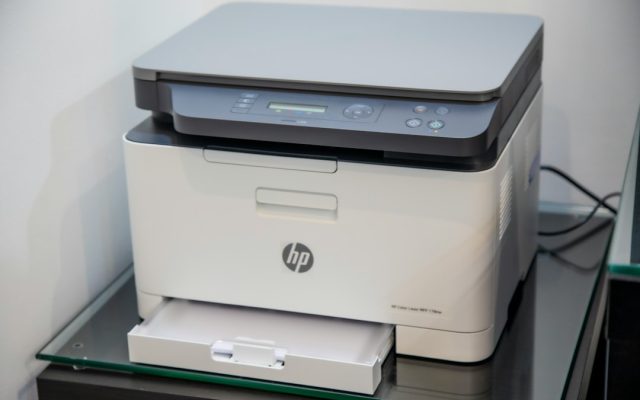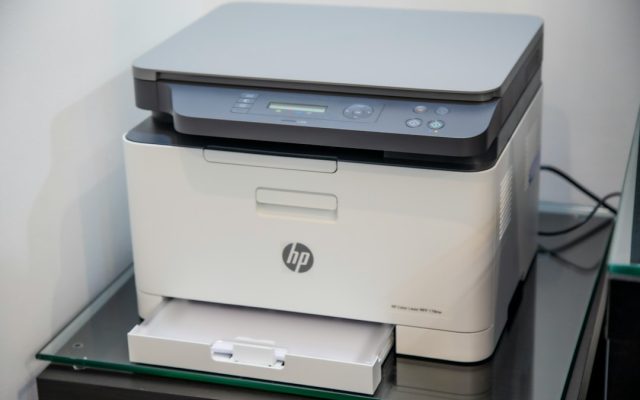

Unboxing a printer is only the first step. A reliable installation depends on choosing the right connection, installing software from a trusted source and checking the functions you plan to use. Taking a few minutes to prepare can prevent duplicate printer queues, confusing network names and avoidable driver problems later.
Start with the exact model and requirements
Before connecting cables or downloading an application, write down the complete model number from the label on the printer. Similar product names can have different regional suffixes, wireless capabilities or supported operating systems. Visit the manufacturer’s official support page and select that exact model. Check the user guide, supported Windows or macOS versions, connection options and any required setup application.
Also decide who will use the printer. A device intended for one computer may be easiest to connect by USB. A household or small office with several users will usually benefit from Wi-Fi or Ethernet. If the printer has scanning, duplex or specialty-paper features, note which of those functions are essential so they can be tested after installation.
Prepare the location and network
Place the printer on a stable, level surface with enough room to open trays and covers. Keep ventilation areas clear and avoid damp locations, direct sunlight and crowded shelves. For Wi-Fi models, choose a location with a dependable signal from the router. Thick walls, metal cabinets and other radio equipment can weaken the connection.
Check the printer’s supported wireless bands and security modes in its manual. Some older devices use 2.4 GHz Wi-Fi only. If your router combines bands under one network name, follow the manufacturer’s instructions for connecting the printer; do not disable network security as a shortcut. For a busy office, wired Ethernet may provide more consistent availability.
Install software safely
Use the manufacturer’s official application or the operating system’s built-in Add Printer workflow. Avoid driver download aggregators and utilities that promise to update every driver automatically. Such packages may be outdated, bundled with unwanted software or intended for a different model.
During setup, confirm the printer name and connection shown on screen. If you use USB, connect it when the installer asks rather than before unless the manual says otherwise. For Wi-Fi, ensure the computer and printer can communicate on the intended network. On a managed office network, ask IT before adding a device or changing firewall settings.
Run a meaningful first test
After installation, print a test page and then a normal document containing text, a small image and a table. Check that the page size, orientation, margins and color look correct. If automatic duplex printing is important, test both sides. If the printer includes a scanner, test scanning separately: successful printing does not prove that scanning software is installed or configured.
For a network printer, restart the printer and confirm it returns to Ready status. Print from a second authorized device if the printer is shared. Record the printer’s network name or IP address if the manual or administrator recommends doing so. A DHCP reservation may help keep a shared printer address stable, but it should be configured by someone familiar with the router or network.
Secure the device from day one
If the printer has an administrator password or web management page, change any default credentials and store the new password securely. Keep management access on the trusted internal network. Do not expose printer administration ports directly to the public internet. Disable services that are not needed, and install firmware only from the manufacturer’s official support channel after reviewing the release notes.
Keep a simple setup record
Save the model number, installation date, driver or application version, connection type and any special settings. For a shared device, note who manages it and where the official manual can be found. This record makes future troubleshooting much easier, especially after a router replacement or computer upgrade.
A successful setup is more than seeing the printer appear in a device list. Confirm that the features you need work, protect administrator access and keep the installation details somewhere easy to find. Those habits provide a dependable foundation for everyday printing.
Make the first week a controlled test
During the first few days, pay attention to whether the printer remains available after the computer sleeps, the router restarts or another user signs in. These ordinary events reveal problems that a single test page may not show. If the printer disappears after sleep, check the manufacturer’s power-management guidance before changing advanced network settings. If it is shared, ask each user to print a small test document and confirm that the correct queue is selected.
Keep the packaging and purchase information until the device has completed its initial setup and any return or warranty checks. Save the setup application or support-page link, but avoid keeping old installers indefinitely when the manufacturer replaces them. A short note describing the network name, USB port or shared queue can also help another household member or colleague reconnect later.
Choose settings for the work you actually do
Review default paper size, color mode and duplex preferences before printing a large batch. A device configured for letter paper may produce unexpected margins when the office uses A4, while a high-quality photo setting can slow ordinary text jobs and use more ink. Set defaults that match everyday documents, then select special options only when needed. This makes routine jobs more predictable and reduces waste.
Reading time: 4–5 minutes.